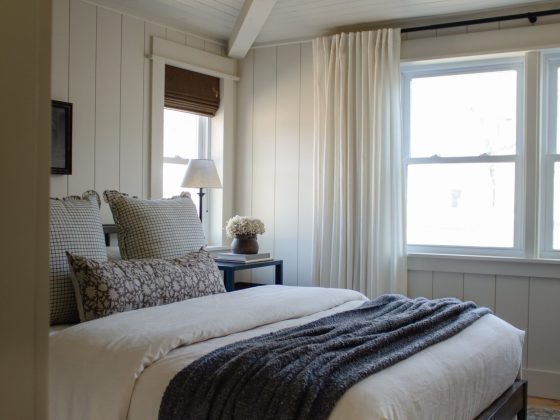


After receiving some questions about the wall planks in our bedroom, I realized a “how to” with links might be the best way to relay all the information! If you missed it, I shared a full reveal of our bedroom a couple weeks ago and last week I shared a tutorial for the wood planks we installed on our ceiling! Today though, I want to focus on the nickel gap tongue and groove planks we installed on the walls.
To clear the air, I know there’s some confusion on what’s considered shiplap vs tongue and groove vs nickel gap and I want to dive into that quickly.

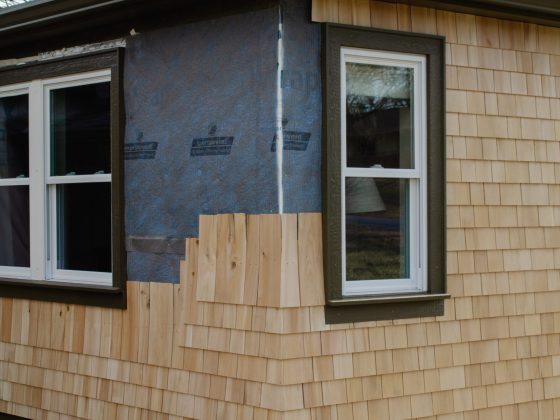
PREP
After demoing our entire room, we were starting with a blank slate. To reduce material waste and maximize space, we installed the planks directly to the studs….well kind of. Because we were installing our planks vertically, there was nothing to nail to in between the studs. To fix this, we nailed 1×2” furring strips on the walls to give us something to nail the planks to. We installed them horizontally in 4 different rows – top, bottom, and two in the middle. We also added strips around the windows to keep the nailing surface flush. Mind you, the layout doesn’t have to be perfect because they’re not visible, just spaced somewhat evenly.
MATERIAL
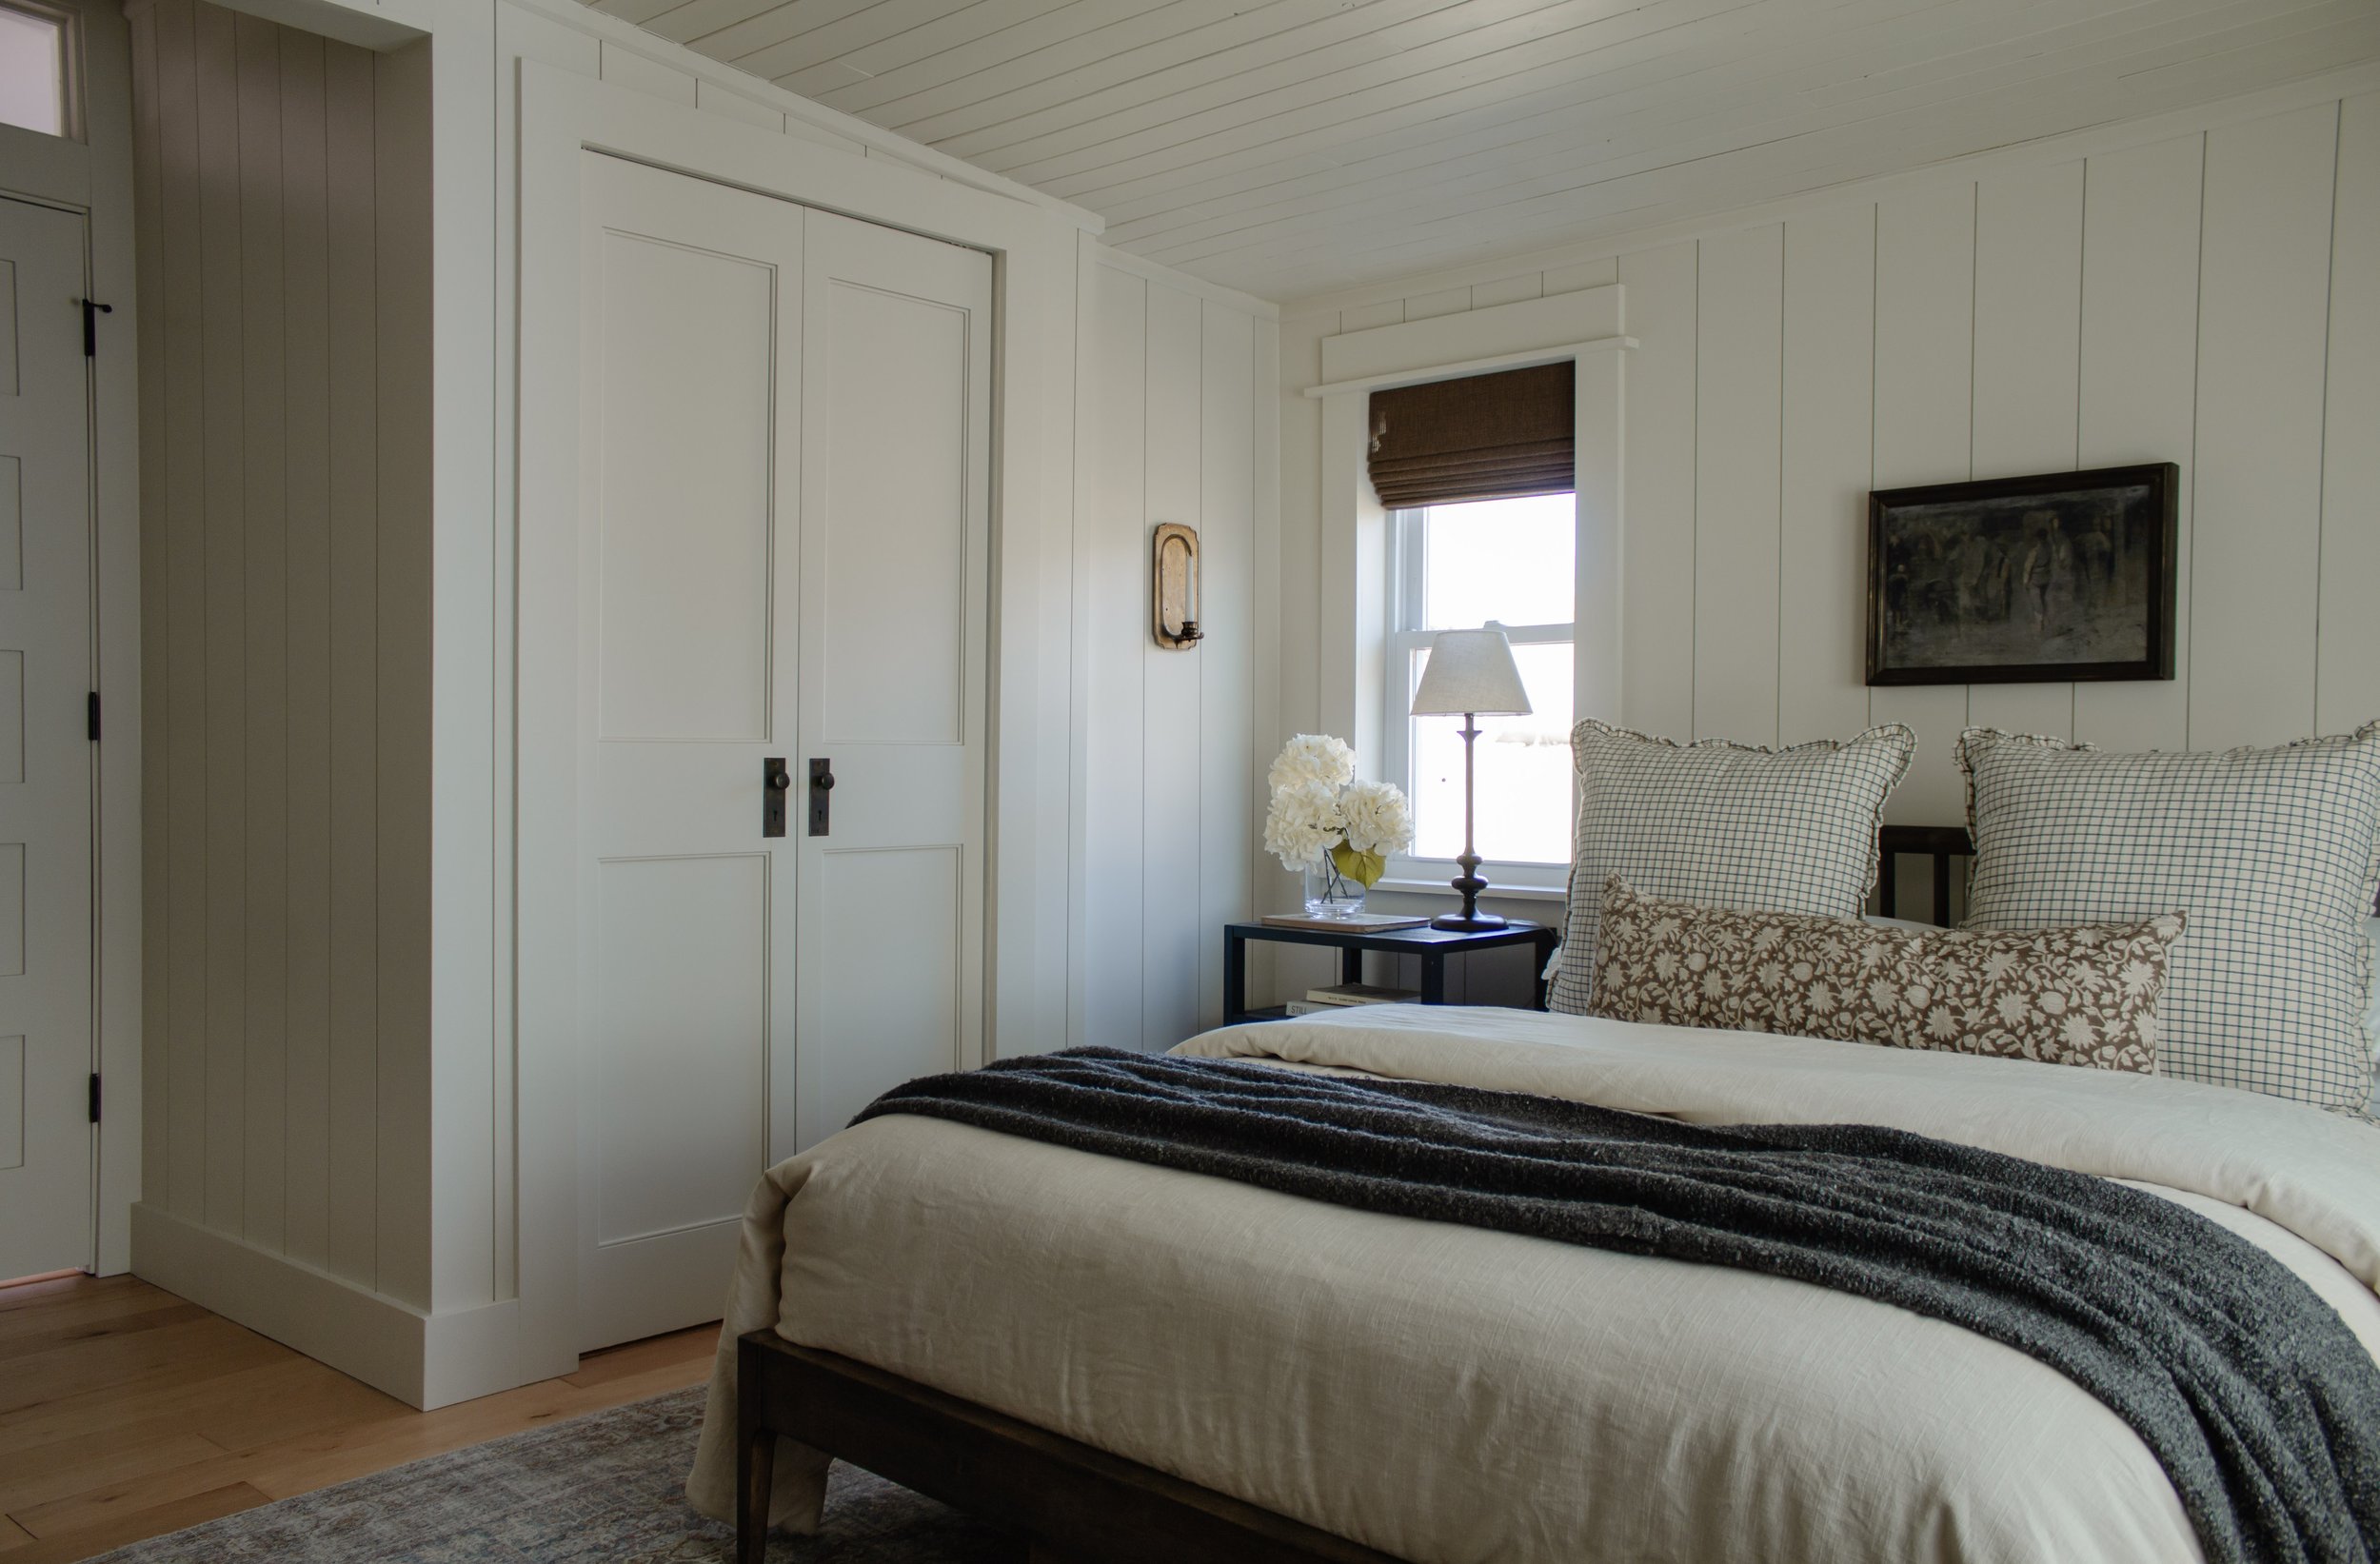
We landed on these 1×8” MDF nickel gap tongue and groove planks. (Actual dimension is 7” wide.) The wide width in combination with the smooth finish contrasts so beautifully against our skinny wood ceiling planks!
SPACING
The planks are nickel gap so they self spaced between boards. But in terms of centering the boards on the wall, I wanted to make sure that the boards lined up evenly on every wall and that we didn’t end up with tiny slivers in the corners. To do so, we addressed one wall at a time starting from the center of the wall. 9/10, one of two layouts gave us optimal symmetry and spacing in the corners.
-
A seam was in the center of the wall with two planks on either side.
(To determine spacing, find the center of the wall and make a mark. Then make marks every 7”.) -
The middle of a plank was centered on the wall.
(To determine spacing, find the center of the wall and make two marks – 3 1/2” to the left of center and 3 1/2” to the right. From there, make marks every 7”.)
If layout #1 resulted in skinny corner pieces, we shifted to layout #2 (or vise versa) and 9/10 that solved our problem.
INSTALLATION
NOW we’re ready to start planking. Installation was surprisingly pretty quick! Again, we started in the center and worked our way to the corners. We measured, cut, and nailed each piece onto the furring strips using a brad nail gun and 2” nails.
Because we planned on adding crown moulding and baseboards, we didn’t have to be so exact with where our boards lined up at the top and bottom. In fact, to account for the house shifting, it’s recommended that you leave a gap on both ends. Nails at the top and bottom got covered up by trim, but we popped a couple nails in between and we used wood filler to clean those up.
As for baseboards and crown moulding, we cut our own baseboards using MDF sheets and installed them piece by piece. Our crown moulding is 1×2” pine boards that I routed on one end to soften the transition. A simple primitive look that feels very appropriate for the style of this room.
PAINTING
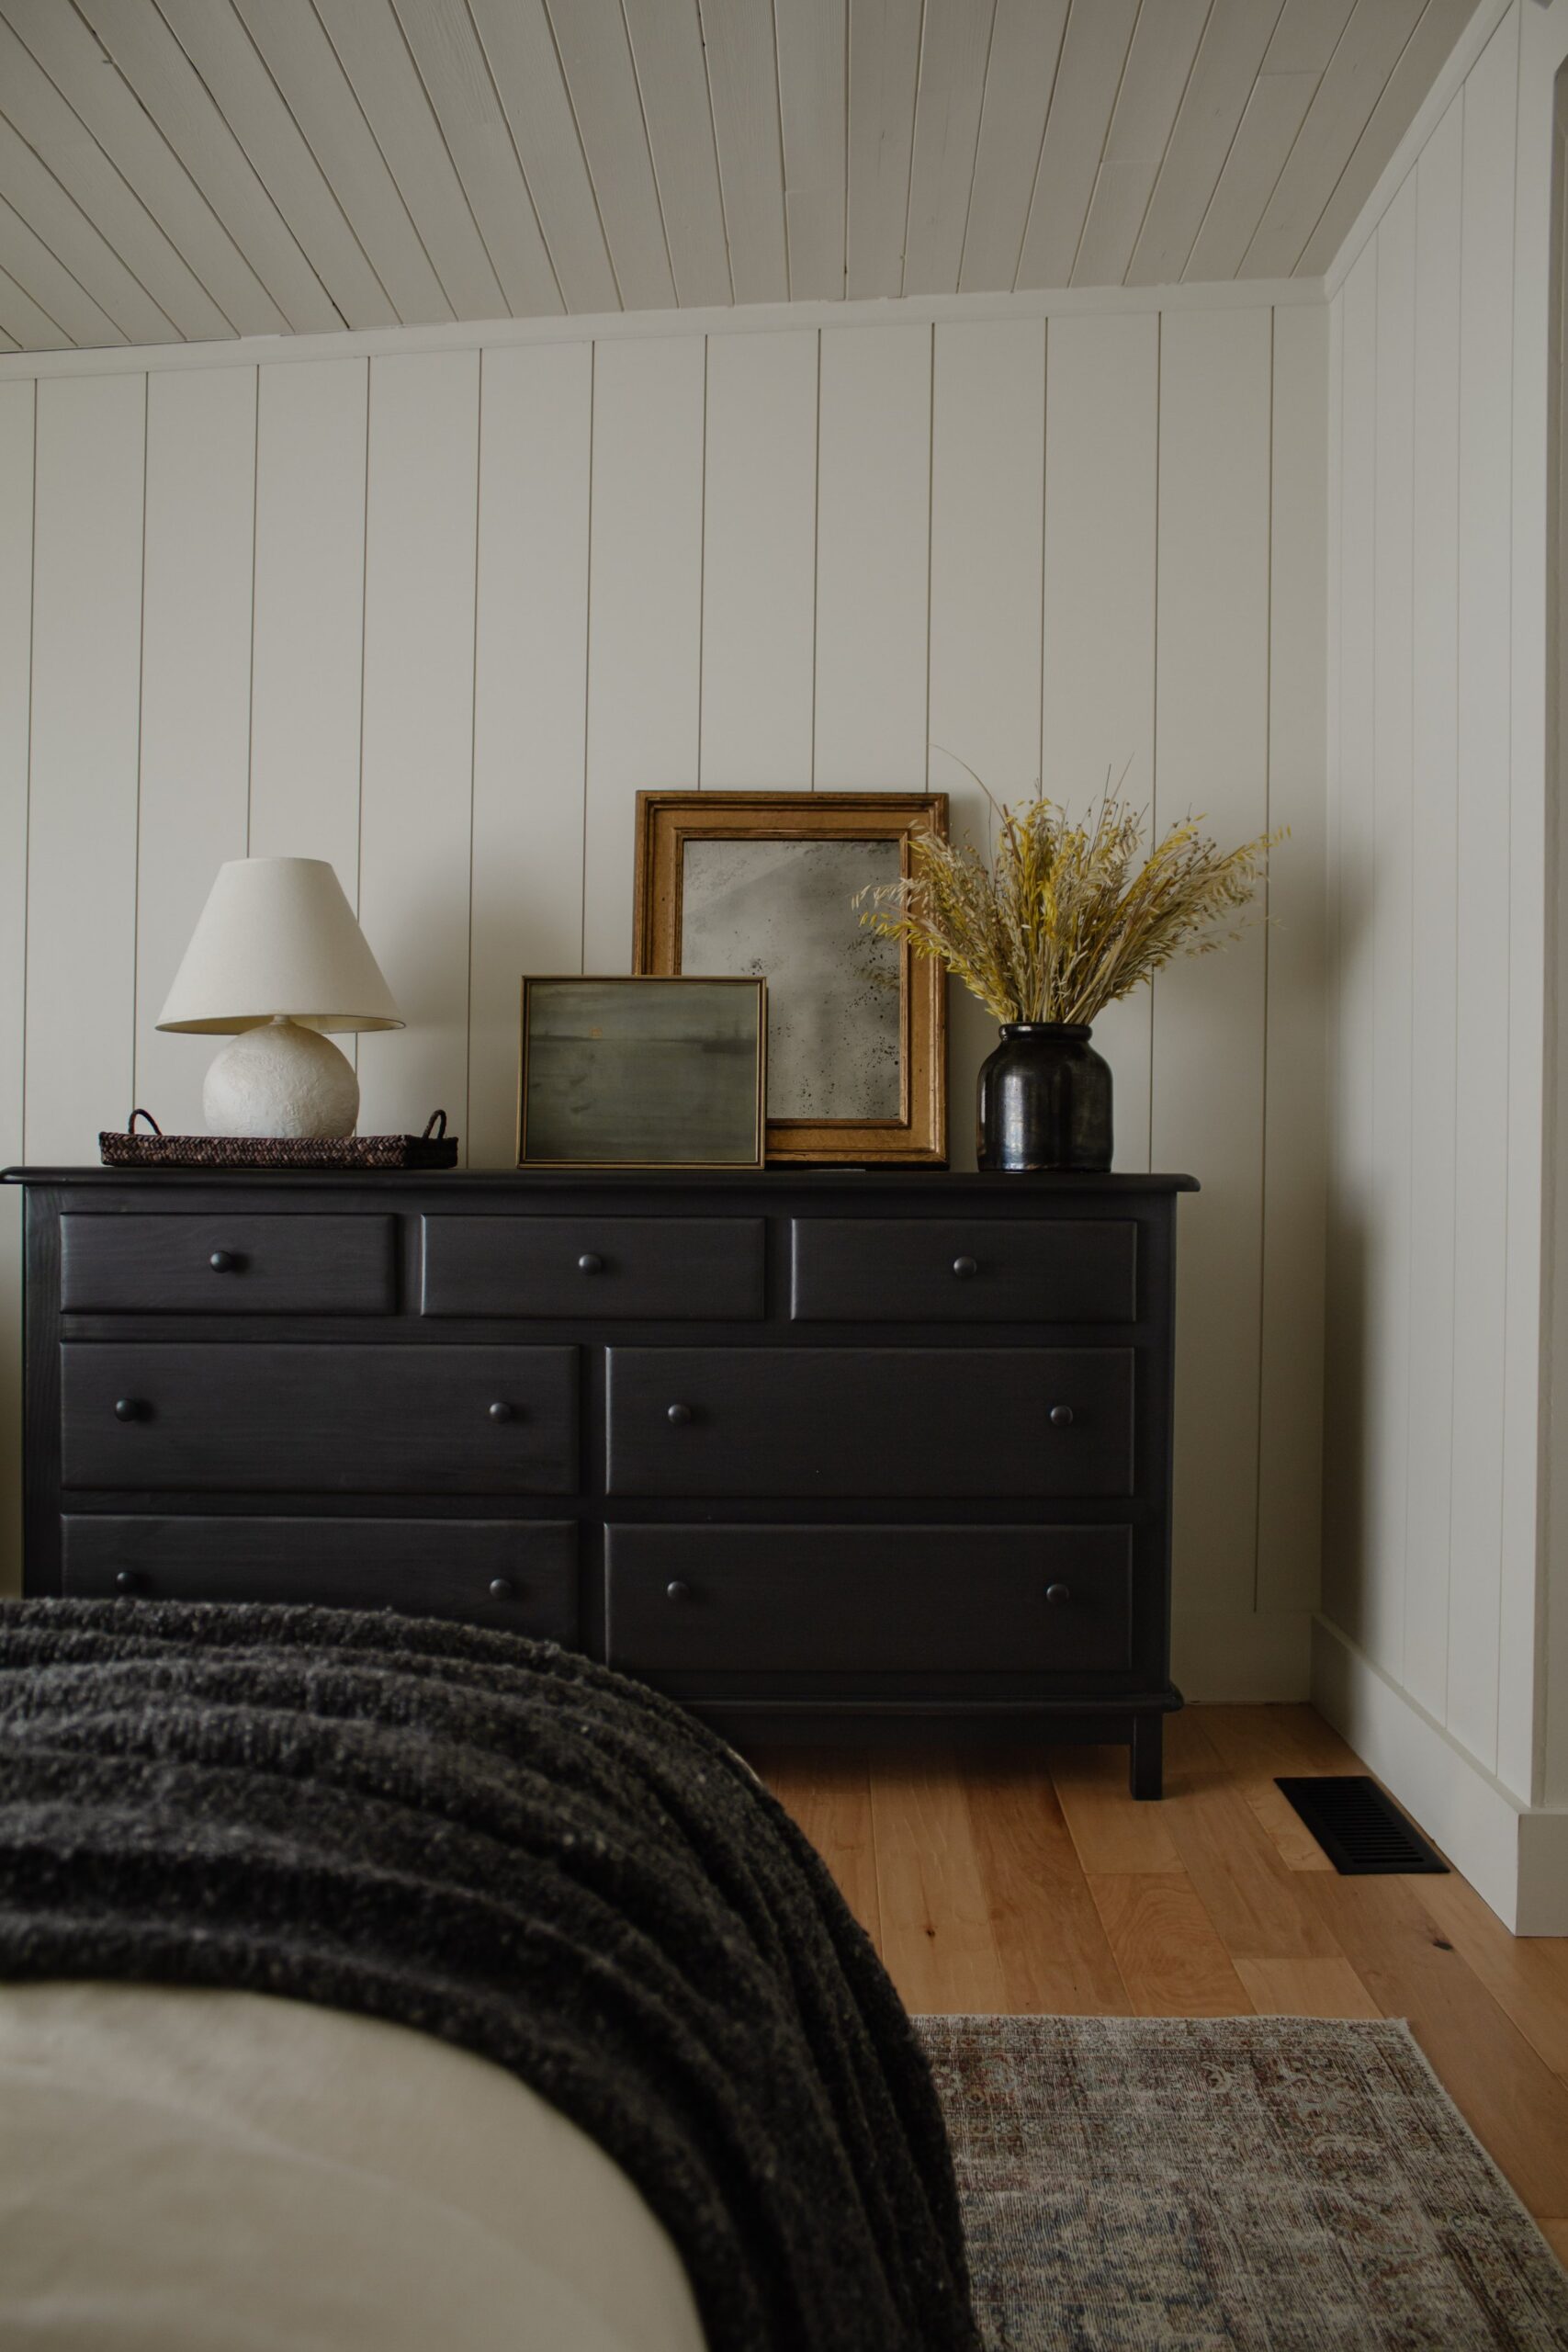
The MDF planks come primed so they were ready for paint as soon as we had the rest of the room primed and ready. The paint color is a custom mix we made at Home Depot and it’s a creamy dream. Not white, not beige, just perfectly in between!
Dresser DIY | Artwork | Antique Mirror DIY | Lamp DIY
GOOD TO KNOW
I hammered a tiny nail in the wall temporary to hang art and when I pulled it out it left a small bubble around the hole. I wanted a perfect finish with no imperfections so I found that command strips were the best way to hang art on MDF boards without leaving any imperfections.
Any questions I didn’t address? Drop them in the comments below and I’ll answer them!